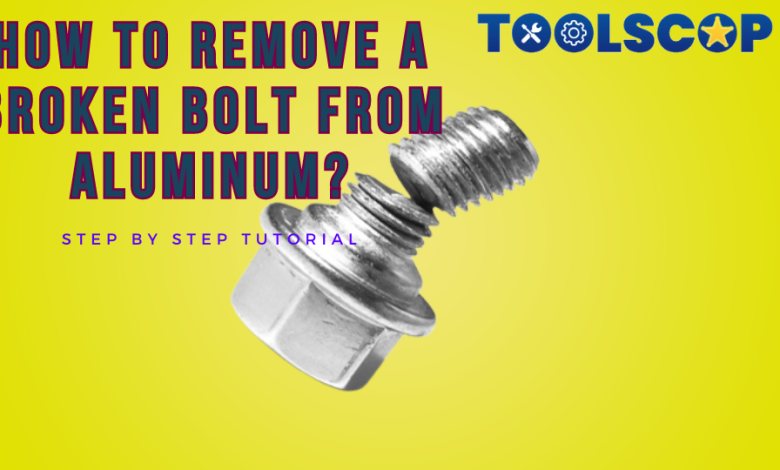
How To Remove A Broken Bolt From Aluminum?
DIY Guide: How to Remove a Broken Bolt from Aluminum - Step by Step Tutorial

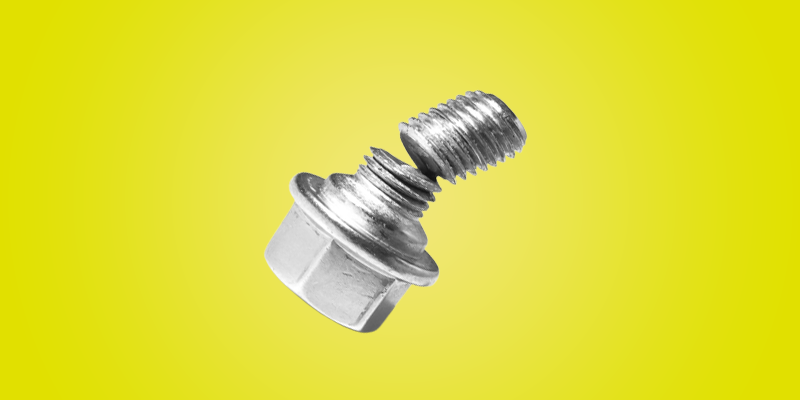
How To Remove A Broken Bolt From Aluminum? Removing a broken bolt from aluminum can be a difficult task, but with the right equipment and method, it is possible. Here’s how to extract a broken bolt from aluminum step by step:
- Set up the area: Begin by using a degreaser to remove any dirt, grime, or oil from the area around the broken bolt. Remove any corrosion or rust that has formed around the bolt with a wire brush.
- Drill a pilot hole: Drill a pilot hole into the center of the broken bolt with a drill bit slightly smaller than the diameter of the broken bolt. Drilling too deeply can damage the aluminum threads, so be careful.
- To extract the broken bolt, use a bolt extractor of the same size as the hole. Insert the extractor into the hole and tighten it with a wrench or socket. The bolt will be gripped by the extractor and turned out.
- If the bolt remains stuck, apply heat to the surrounding area to expand the aluminum and loosen the bolt. Heat the area around the bolt with a heat gun or propane torch, being careful not to overheat the aluminum.
- Use a tap and die set: If somehow the threads on the aluminum have been damaged, you may need to repair them with a tap and die set. Clean out the damaged threads with a tap, then cut new threads into the hole with a die.
- Replace the bolt: After removing the broken bolt and repairing the threads, you can replace it with a new one. To keep the new bolt from coming loose, use a thread-locking compound.

Note: It is crucial that the bolt removal tool is placed on the flat surface of the bolt and it fits into the right place. You can check this by slightly turning the bolt.
Final Verdict:
We hope that our guide on how to remove a broken bolt from aluminum helped you in doing the job yourself without any complications, Check out the More Tools Cop from our Blog.


