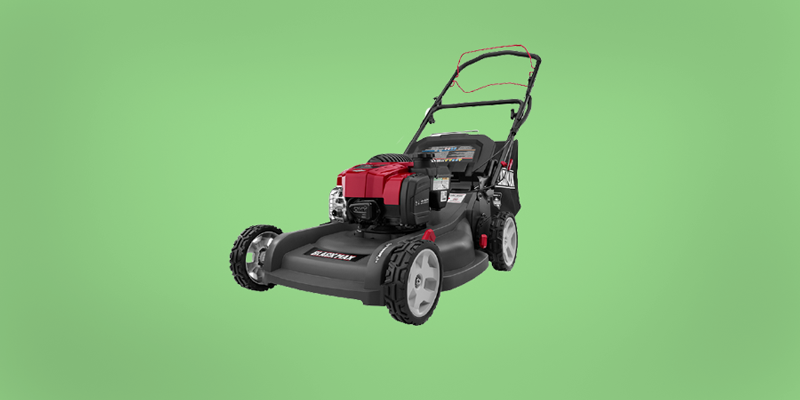
A carburetor is an essential component of any lawnmower if you need it to function smoothly. When it is broken or clogged with dust and dirt. However, it can not respond effectively when the lawnmower is activated. That is why you must maintain it. I’m guessing you’re dealing with a similar problem. Right? If that’s the case, then push aside all of your fears. We will offer you the precise information that you want.
How To Clean Lawn Mower Carburettor
Essentially, without a properly functioning carburetor, the lawnmower engine will not be able to generate enough energy from the carburetor to activate the lawnmower. Maintaining the lawnmower’s carburetor, as compared to the majority of the lawnmower’s maintenance, is a very straightforward task.
The entire process should take about 20-30 minutes to perform. There are two techniques to clean the carburetor. The first involves extracting the carburetor from the lawnmower, whereas the second does not. For your ease, we’ll go through both options.
Let’s consider removing the mower carburetor from the lawnmower and looking at the cleaning procedure. You’ll need specific equipment for this. Let’s look at what you will need to do the job.
1.) Taking Precautions:
Safety is preferable to treatment. It is critical to keep health in mind whenever you perform installation and maintenance work. When dismantling a carburetor, i.e; the old grease can be extremely hazardous, so make sure you’re working in a well-ventilated environment. If you’re ever in your home garage, make sure all the shutters are up. If you already have one, you can also utilize a workshop fan. Think about working somewhere else if your shed doesn’t have any circulation.
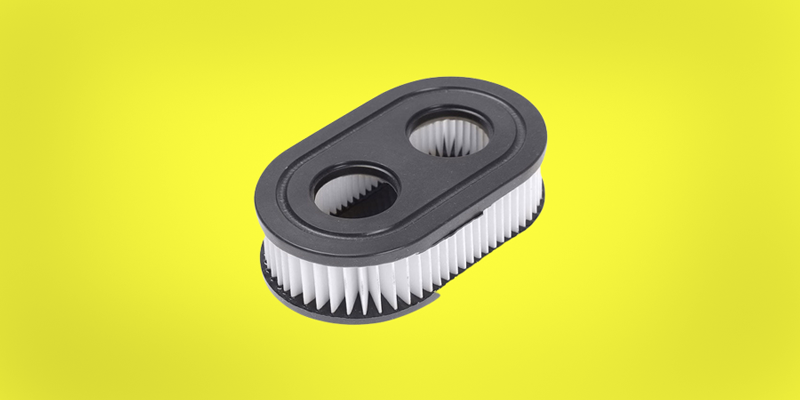
2.) Uninstall the Air Filter and the External Casing:
The technique for this is classified by the characteristics of the lawnmower you have. It ideally entails loosening a few bolts and removing the cover panel to see the mower’s inner workings. The carburetor will be visible once the air filters have been removed. Check your filters for debris and make sure they’re clean. Dirty air filters can cause dark smoke to escape from the tailpipe, making it difficult for the carburetor to acquire the air it requires.
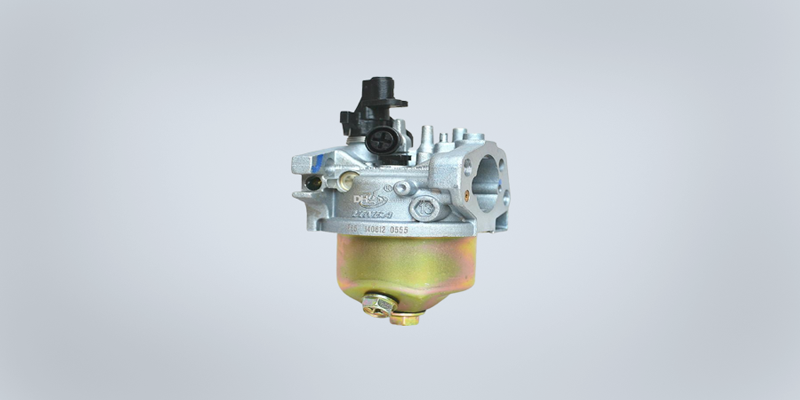
3.) Removing The Carburetor:
The carburetor is ordinarily buckled in place, but; it can still be easily removed. Unscrew it with a bolt driver and discharge the gas line while retaining that to the engine. Remove the accelerator wires and be prepared to wipe any petrol spilled from the carburetor and fuel line with a rag or any piece of fabric.
4.) Remove The Bowl From The Carburetor And Cleanse The Screw:
Clean the area around it with a carburetor washer. To detach the bowl, detach the screw. Normally, this screw is a flared bore. To confirm that the hole is dirt-free, poke it with a paperclip. Mere debris within this opening will cause the carburetor to fail to operate effectively, having to clean it may resolve the issue.
5.) Replacing The Needle:
As you remove the bowl, you’ll notice a pin connecting the float to the carburetor. Pull it and change the needle which is usually located inside the carburetor in a small gasket. Think about changing it, and be sure to install it correctly to prevent future problems.
6.) Replacing Gasket:
We recommend replacing the primary gasket after disassembling the carburetor. It is typically found between both the carburetor as well as the bowls. Furthermore, such gaskets are reasonably priced. You can simply purchase a replacement and install that in its spot.
7.) Examine The Settings:
Examine the carburetor setting once you’ve cleaned them up to see if anything needs updating or altered. For someone who doesn’t believe me, Well, here is the truth; carburetor cleaning is not completed without this procedure. How is that? Merely because you may have widened some wires that are critical to the operation of your carburetor’s engine when cleaning. Isn’t it better than logic?
8.) Reassemble It:
Allow the images you took during the procedure to aid you in reinstalling the carburetor and reconnecting this to the engine. After that, fill the tank with gas and turn the engine. If your mower was having trouble starting due to dirt. Now, it will start right away.
Why Do Carburetors Require Cleaning?
Everyone must clean the lawn mower’s carburetor once a year. It is an essential task to do. The dust and dirt stuck inside the lawnmower require to be cleaned. If you are a big fan of a smoothly working lawnmower, maintaining it will help you a lot. The carburetor becomes clogged and can no longer take in airflow. There will be no oxidation if there is no air, and the motor will not start.
However, the carburetor condition may appear frightening, don’t be alarmed. Your carburetor will treat you well for the rest of your life if you maintain constant maintenance.
Safety Precautions:
When performing any task, taking safety measures is essential. If you will not follow the instructions wholly and wear the required items; you may have to face severe danger. For avoiding hazardous chemicals or noises to damage your skin, one must remain cautious throughout the procedure.
Conclusion:
Keep visiting Tools Cop.